
This post is about how to send an email with Calculated Fields Form. The mail sending function is available only in the premium version of the plugin which you can download here.
The calculated fields form plugin allow you yo send the details of a users input any email of yours that you choose. You can as well send the results of users calculation to that email using notification tags. Not only can you send the results to yourself, you can also send a mail to users immediately they make a submission.
That is it, to send email notification to yourself or users, there has to be a submit button in the form. The email is sent only when the submit is clicked on, but if for any reason you cannot have a submit button in the form there is an alternative method of getting collecting users input. I will talk about that later.
To configure the email notification to yourself or a site admin when any user submits a data through a calculated field form, follow the steps below.
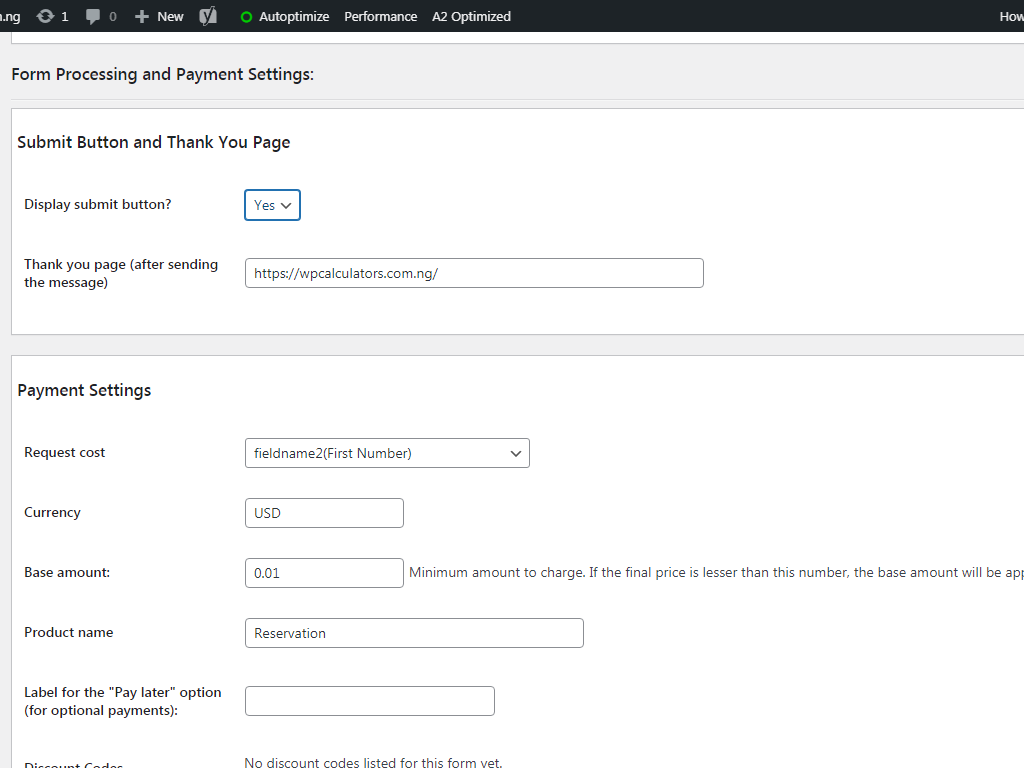
- First of all, make sure the display submit button is set to yes and a ‘thank you page’ url has been set.
2. Scroll to Form Processing/Email Setting
3. In the “From” email type in a mail@youdomain from which the email should be sent
4. Under the Destination emails (comma separated) setting, type in the email you want the notification to be sent to. You can have as any email as you want. Separate the email addresses with commas.
5. Type in your preffered Email subject, something like ‘Someone just used your calculator’or anything you choose.
6. Under the setting for ‘Include additional information?’, select yes if you want the users IP address and the date on which the form was submitted to be included in the mail.
7. ‘Include attachments?’ – choose yes if you want the files submitted by users to be sent to the email addresses you have chosen.
8. There are two types of ‘Email Format’, Plain Text and HTML. If you choose ‘Plain Text’, all the text you type into the box will appear just as you have inputted them without any formatting. This will be a good option for you if you don’t know how to use HTML. However, there is a hack to is even if you don’t understand HTML that much. I’ll talk about it shortly. The other option which is HTML is quite flexible and it allows you to customize the mail as much as you want. You can even create a table, have different text colors, include images and do any other thing HTML can do. Remember that Calculated Field Form has special notification tags, these tags works for both plain text and HTML, but you can style the tags with HTML. I will give you an example shortly.
If you do not know how to use HTML but you own a WordPress site, you can still achieve any look you want, with HTML. Let me show you how.
- Login to your WordPress site
- Install the Classic Editor plugin and the Advanced Editor Tools Plugin.
- Add a new post (no need to publish it, so don’t include a heading)
- Watch the video below
The fieldname2 tag I used in the example is tag for name field, the correct tag should be <%fieldname2_value%>.
There are several other tags you can use which can be found here.
<%INFO%>
This tag automatically displays the whole information in the calculated form.
<%fieldname#%>
If you want to display just some particular fields use this tag. Note that this tag will display both the field label and the submitted value. For instance, if it is a single line text with a label ‘name’, this will return ‘name: Andrew’ in the email. Assuming the name of the person who filled in the form’s name is Andrew. If you want only the submitted value, use the next tag:
<%fieldname#_value%>
Use this tag if you want only the value to be displayed.
<%fieldname#_label%>
This does the opposite of displaying the value, it simply returns the field label.
if_not_empty
This is a conditional function you add to a tag to make it display only if the field was filled, meaning if it is not empty. Examples include: <%INFO if_not_empty%>, <%fieldname# if_not_empty%>, <%fieldname#_label if_not_empty%>, <%fieldname#_value if_not_empty%> etc. So these will only show if the fields are not empty.
The setting for send a mail to the user is similar. Scroll to the Email Copy to User section
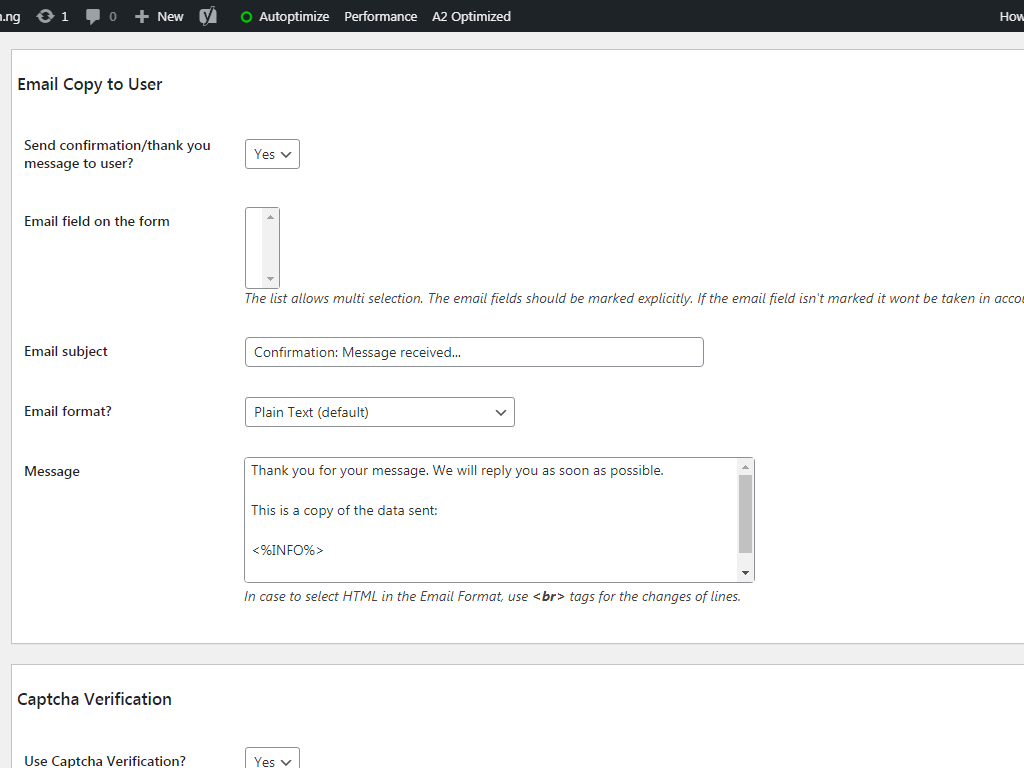
Follow the following steps:
- Under send confirmation/…choose yes
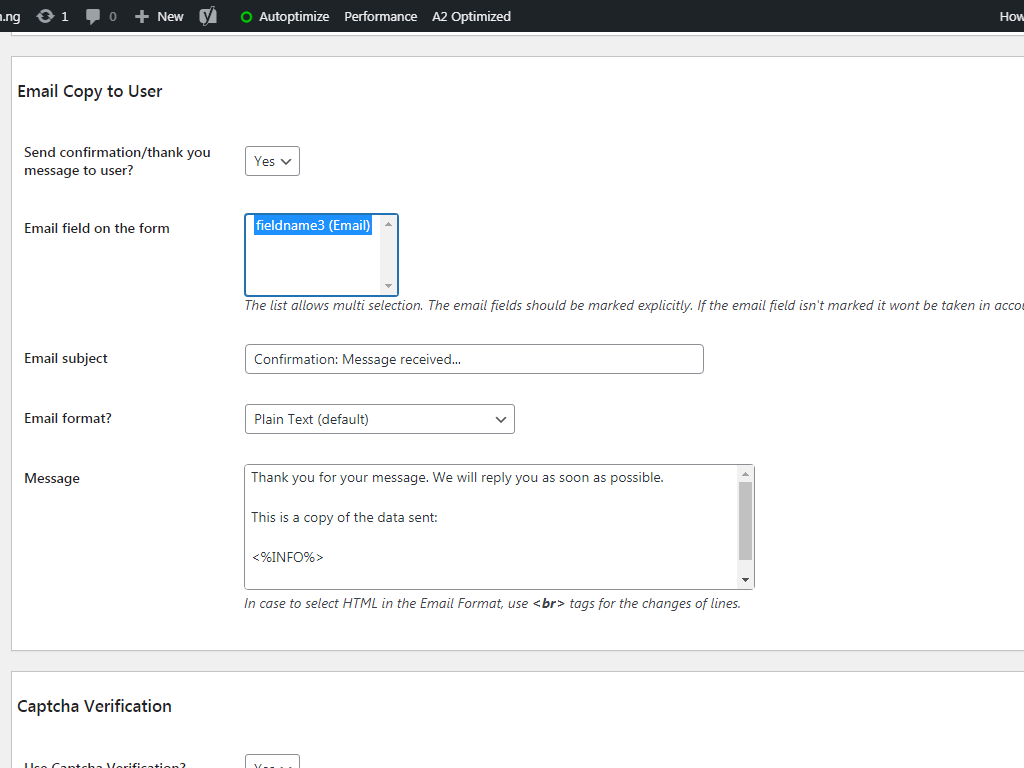
- Definitely for this to work, you must collect users’ email, so under ’email field on the form’ select an email field. The selected field must be highlighted in blue like this.
The other settings are the same with that of sending mail to the admin.
If for any reason, you want to collect data without the users submitting the form you need to use the Data Collector bundle. It allows collecting the form data in the background as the user populates its fields, and sends this information to the administrator by email. It is compatible with both the free version and the paid version of the calculated fields form plugin.
How has this post ‘Calculated Fields Form Send Email’ helped you? Please let me know in the comment box. Thank you for reading so far.